Table of Contents
1. Introduction to easy setup tents
2. Core features of easy setup tents
3. Choosing the right easy setup tent for your needs
4. Practical setup tips and maintenance
5. Easy setup tents FAQ
6. Conclusion and practical recommendations
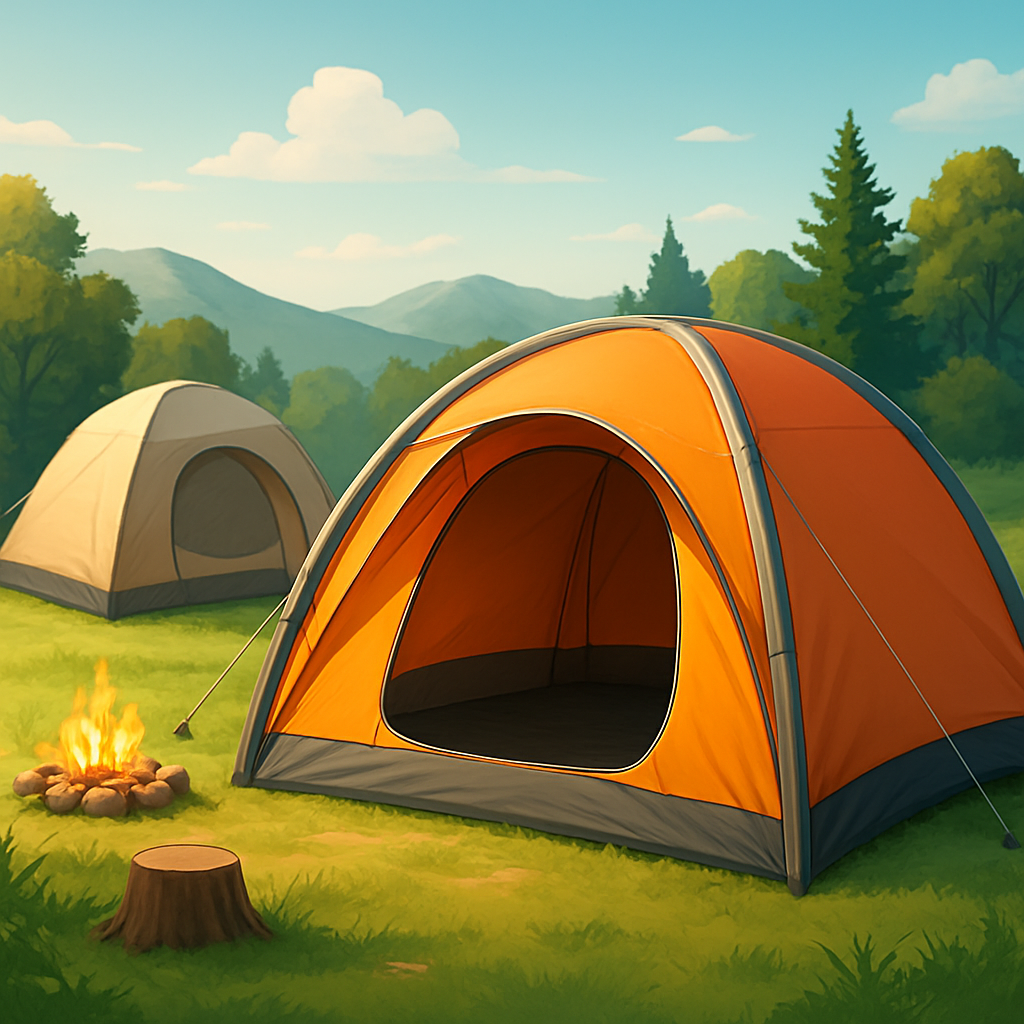
Introduction to easy setup tents
Easy setup tents streamline camping, turning quick trips into enjoyable getaways. The core advantage is a one-piece or simplified frame that cuts assembly steps, ideal for easy setup tents for quick camping trips. This design supports freestanding shells and lightweight fabrics without sacrificing stability. Look for integrated hubs or fewer pole pieces, plus weather-tolerant materials. For families and solo campers alike, fast pitching and an intuitive layout minimize time spent on site.
What defines an easy setup tent
One-piece or simplified frame
A single hub reduces parts and speeds setup for quick camping trips.
Designed for easy setup tents for quick camping trips
Freestanding design, color-coded poles, and pre-attached guylines keep alignment simple in tight spaces.
Why pop up tents and instant setup tents save time
Rapid assembly in seconds with minimal fumbling
A simple motion lets you pitch and stake in seconds.
Lower risk of setup errors compared with traditional tents
Fewer loose parts and clearly labeled connections cut missteps, especially in wind. This sets the stage for the core features of easy setup tents.
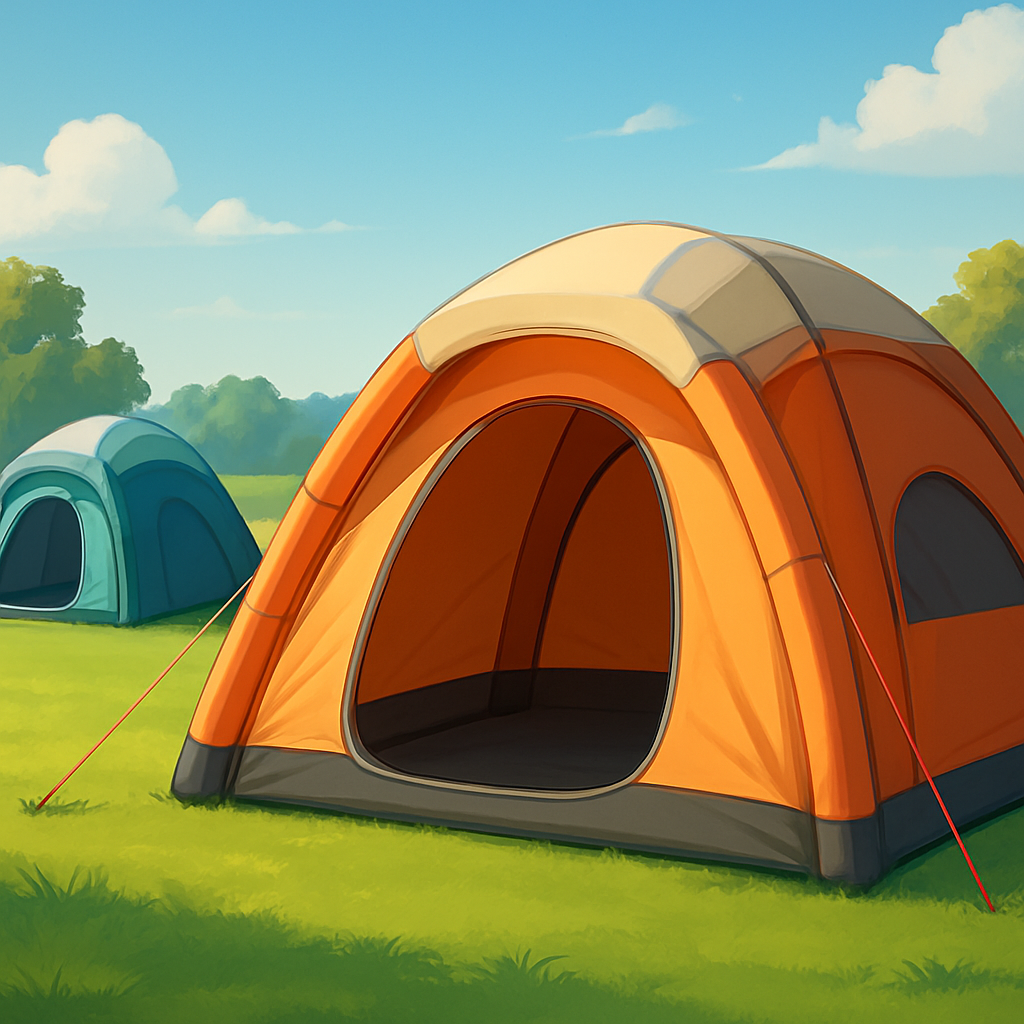
Core features of easy setup tents
Easy setup tents streamline your camping routine without sacrificing stability or protection. By combining fast deployment, true freestanding design, and rugged weatherproofing, these models suit quick weekend trips, family getaways, or backpacking jaunts where lightweight gear matters. Expect reliable pop up performance, straightforward pitching, and materials that balance weight with durability across a range of climates.
Pop up and instant setup mechanisms
Integrated hub-and-pole systems for instant setup tent deployment
Integrated hubs connect all poles at once, so the tent springs into shape as you release the velcro, clips, or latches. This is the backbone of pop up tents and many instant setup tents today, letting you go from bag to camp in under a minute in ideal conditions. For beginners and seasoned campers alike, the hub-and-pole design reduces misalignment and fumble, helping you get a sturdy shelter with minimal steps. Look for models with color-coded hubs and pre-attached guylines for even faster, more reliable setup on uneven ground.
One-piece design enabling easy pitch tent deployment
Some easy setup tents use a one-piece frame that stays connected to the fabric, so you don’t thread poles through sleeves or set up a separate external frame. This approach can drop pitching time to a couple of minutes and lowers the learning curve for quick camping trips. It also minimizes the chance of dropped poles or tangled guy lines when you’re setting up in rain or dim light. For families, a one-piece system translates to less fuss when kids are eager to crawl in after a day outdoors.
Freestanding design and lightweight construction
Freestanding design enables pitching without stakes, a true freestanding tent
A true freestanding tent can stand on its own with a complete frame, letting you reposition the footprint without re-anchoring. This is ideal if you’re setting up on rocky soil, a wooden platform, or an open meadow where stakes aren’t always practical. While wind still benefits from staking, you can quickly shift the shelter to catch a calmer breeze before finalizing with stakes and guy lines.
Lightweight camping tent materials ideal for backpackers
For backpackers, weight is a deciding factor. Modern lightweight tents use ripstop nylon or polyester with silicone or PU coatings, and aluminum or high-strength alloy poles. A typical 2-person setup may hover around 3–5 pounds, while larger family models skew higher but stay manageable with compact packed sizes. Materials such as 20–40 denier fabrics with durable coatings give a good balance of strength and packability, supporting easy setup without turning your pack into a liability.
Weather resistance and durability
Sealed seams and rain fly coverage
Water resistance starts with sealed, taped seams and a reliable rain fly. Fully taped seams prevent interior leakage, while a well-designed rain fly provides ample overhang to shed rain and block wind. For heavier climates, prioritize rain flies that extend over vestibules and doors and aim for hydrostatic head ratings around 3000 mm or higher to keep drips at bay during sustained showers.
Durable fabrics with UV and abrasion resistance
Durable fabrics resist sun exposure and rough terrain. Look for coatings that offer UV inhibitors and abrasion resistance, plus floors with higher denier ratings (for example, 150D or thicker) to resist ground wear. While budget models exist, choosing mid-range fabrics often yields better longevity under frequent use and repeated setup/teardown, preserving both your shelter and your camping budget.
With these core features in mind, you can compare options to identify the best easy setup tents for your needs, whether you’re chasing speed for quick trips, planning family outings, or prioritizing ultralight packing for backpacking adventures. Choosing the right easy setup tent for your needs will hinge on matching deployment speed, footprint flexibility, and weather resilience to your typical camping scenarios.
Choosing the right easy setup tent for your needs
Easy setup tents save time at the campsite and reduce pitching errors, making weekend trips and longer excursions smoother. When selecting, align capacity, weight, and weather resilience with your typical outings. The following profiles cover three common needs—families, backpackers, and rain-prone trips—and highlight practical features to compare at a glance.
| Focus | Typical needs | Helpful specs to verify |
|---|---|---|
| Best for families | 4-6 people; multiple entry doors and gear vestibules | Floor area 90–120 ft²; two doors, two vestibules; price range roughly $180–$300 for freestanding models |
| Backpackers | Lightweight, compact, quick-pack | Packed weight under 3 kg for two-person or under 1.5 kg for a minimalist solo; carry size around 40–50 cm; fast-ply setup |
| Rain-ready | Weather resistance in variable climates | Hydrophobic fabrics, full-coverage rainfly, taped seams, wind-stable frame; hydrostatic head 1500–3000 mm |
Best easy setup tents for families
Spacious layouts with multiple doors and vestibules
- Two or more entry doors prevent nightly walking congestion; two vestibules keep boots and packs organized while the interior stays uncluttered. Look for a 4–6 person footprint with a separate room option or partition for privacy.
Affordable easy setup tents for camping on a budget
- Target a 4–6 person freestanding tent around $180–$300. Prioritize durable polyester or nylon, a simple cross-pole design, and taped seams. Include a basic rainfly and a decently sized vestibule to balance price with practicality.
Lightweight easy setup tents for backpackers
Target packed weight under 3 kg or similar
- Seek compact models that use light aluminum poles and high-strength fabrics. For a two-person setup, a sub-3 kg total is achievable with careful material choices and minimal guylines.
Compact carry size and quick-pack design
- Favor tents with a tight packed footprint (roughly 40–50 cm long) and efficient pack-down logic (pole sleeves or freestanding systems that collapse neatly). A true grab-and-go design reduces setup time to minutes in the field.
Weather resistant easy setup tents for rain
Hydrophobic fabrics and rainfly coverage
- Choose hydrophobic fabrics (DWR-treated) and a full-coverage rainfly to keep rain at bay. Double- or 2-layer builds add breathability while preserving dryness inside.
Sealed seams and wind-resistant frame
- Factory-taped seams and seam-sealed floors prevent leaks; reinforced poles and multiple guylines improve stability in gusts. Look for a hydrostatic head rating around 1500–3000 mm for reliable rain performance.
With these profiles in hand, you can match the tent to your trips and start comparing models that truly fit your needs. Practical setup tips and maintenance will help you keep the performance edge in every season.
Practical setup tips and maintenance
Easy setup tents streamline camping, especially when weather changes or you’re chasing a tight schedule. By focusing on footprint layout, quick-pole management, and solid stake placement, you can pitch a freestanding tent in under 5 minutes even with gear on a budget. This approach suits pop up tents, instant setup tents, easy pitch tents, and lightweight camping tents, and translates well from car camping to minimalist backcountry trips. For families, choosing the best easy setup tents often means extra interior space and simple, reliable assembly. For backpackers, lightweight easy setup tents matter most for speed and pack weight, while weather resistance stays non-negotiable for rain.
Step-by-step quick setup workflow
Lay out footprint and orient door correctly
Lay out the footprint or groundsheet first, aligning it with the tent door so you can access entry without stepping on stakes. Position the footprint on level ground, away from sharp rocks, and orient the door toward the prevailing wind to minimize drafts inside. If you’re car camping with a family, this ensures a smooth, quick setup of the freestanding tent without weaving through gear.
Unfold and extend poles, then lock joints
Unfold the poles and extend them fully. Color-coded sections and simple locking joints speed up setup for most easy setup tents. Push or click the joints until they’re secure, avoiding over-tightening that could bend components. For a lightweight camping tent, check for any bent tips and replace or repair promptly to keep the frame rigid on subsequent pitches.
Stake corners and tension guylines
Stake each corner firmly and pull guylines to tension. Work diagonally from one corner to the opposite to keep the floor flat and reduce wind flapping. In rain, snug guylines help prevent puddling inside and preserve the tent’s shape, a key factor in weather resistant easy setup tents for rain scenarios. With practice, a four-person freestanding setup can become a 3-minute routine, and larger models still stay under 7 minutes for most families.
Maintenance and care to extend lifespan
Dry tents after use to prevent mold
Always air out the tent fully before packing. Drying in shade or a breezy spot helps prevent mold and fabric odors—especially important for rain-ready, weather resistant easy setup tents. If you camp in humid climates, extend drying time to 30–60 minutes, moving guylines and poles to ensure all seams are exposed to airflow.
Inspect zippers, seams, and poles before storage
Before stowing, run a finger along zippers to check for snagging and lubrication needs, inspect seams for wear or peeling, and test pole joints for looseness or cracks. Tighten or replace worn components, and clean dirt from fabric and zippers. Proper care increases the lifespan of affordable easy setup tents for camping on a budget, ensuring reliability on your next quick trip.
Easy setup tents FAQ
Easy setup tents simplify camping logistics after a long day. They include pop up tents and instant setup tents that deploy with minimal effort, while remaining sturdy as freestanding shelters. For quick camping trips, family outings, or backpacking jaunts, these lightweight camping tents balance speed with reliable shelter.
What is an easy setup tent?
An easy setup tent deploys rapidly via hub-pole systems or pre-attached poles. You unfold, extend, and stake; many are freestanding, so you can position them easily on firm ground. Expect options labeled as pop up tents or instant setup tents, plus lightweight models and easy pitch tents suited to casual trips and best easy setup tents for families.
How long does setup take on average?
Average times vary. Pop up and instant setup models can be up in minutes with practice. More robust easy setup tents with multiple rooms or extra guylines typically run 5–10 minutes. Regular practice at home shortens real-world setup and ensures you’re ready when weather shifts.
What should I look for to ensure weather resistance?
Prioritize a full-coverage rainfly and taped seams for reliable waterproofing. Check the hydrostatic head rating (aim for 1500 mm or higher) and fabric durability. Zippers should be weather-shielded, and vestibules add storage against rain. A freestanding design helps in windy sites, but always stake and guy-out in exposed areas. For rain-ready options, focus on weather-resistant easy setup tents with robust rain protection.
Conclusion and practical recommendations
For quick, low-friction outdoor escapes, the right easy setup tents streamline the basics: quick deployment, manageable weight, and solid weather protection. Across options like pop up tents, instant setup tents, and freestanding designs, you’ll find models that balance speed with durability. The goal is to match a tent’s setup experience to how you camp—whether you’re sprinting to a lakeside site after work or planning a family weekend in unpredictable weather.
Key takeaways for quick camping trips
Pop up tents and freestanding designs maximize speed and simplicity, letting you pitch in 60 seconds to a few minutes once the poles are staked and the stakes are driven. For solo or couple trips, lightweight camping tents in the 2–3 kg range offer easy backpacking without sacrificing shelter integrity. For families or car campers, look for models advertised as the best easy setup tents for families, with roomy vestibules and quick-release guy lines.
Quick-start guidance
- Pop up tents: deploy in under 2 minutes; great for flat sites and calm evenings.
- Freestanding tents: move and re-center without re-pitching; ideal for uneven ground.
Trade-offs to monitor
- Setup time vs. weather rating: faster setups often cost weight or reduced storm protection; opt for 3-season weather resistance (1500–3000 mm hydrostatic head) for rain and wind.
Practical buyer’s checklist for easy setup tents
Define trip type (family, solo backpacking) and prioritize models that fit that use case. Set a realistic budget that covers both core shelter and add-ons (footprint, guylines, rain fly).
Define trip type (family, solo backpacking)
- Family tents typically require more interior space and easier entrances; prioritize room and ease of entry.
Set a realistic budget
- Beyond price, include durability and warranty into value, especially for frequent or long-season use.
Verify setup time, weight, weather resistance, and warranty
- Check stated setup times, total trail weight, 3-season weather rating, and manufacturer warranty (lifetime or limited).
Next steps for evaluating models and testing
Test setup at home to confirm real-world time and ease, then compare models with objective data and anecdotal reviews. Read user reviews and field tests to capture variability in wind or rain. Plan a quick weekend test run before a long trip to verify fit, airflow, and ease of use in conditions close to your target site.
Test setup at home
- Time a full pitch with all components; note any fiddly clips or alignment issues.
Compare models with real-world data
- Record setup time, packed size, weight, and rain-shed performance on a simple scoring sheet.
Read user reviews and field tests
- Prioritize reports from similar climates and trip types to your plans.
Plan a quick weekend test run before a long trip
- Use this to validate comfort, heat management, and ease of breakdown.